Ant Wars Larvae Looting After Queen Kills
Spawn rules, Loot Dropoff routes, DNA payouts, team timers, and how to grind the Looter badge without throwing the next fight.
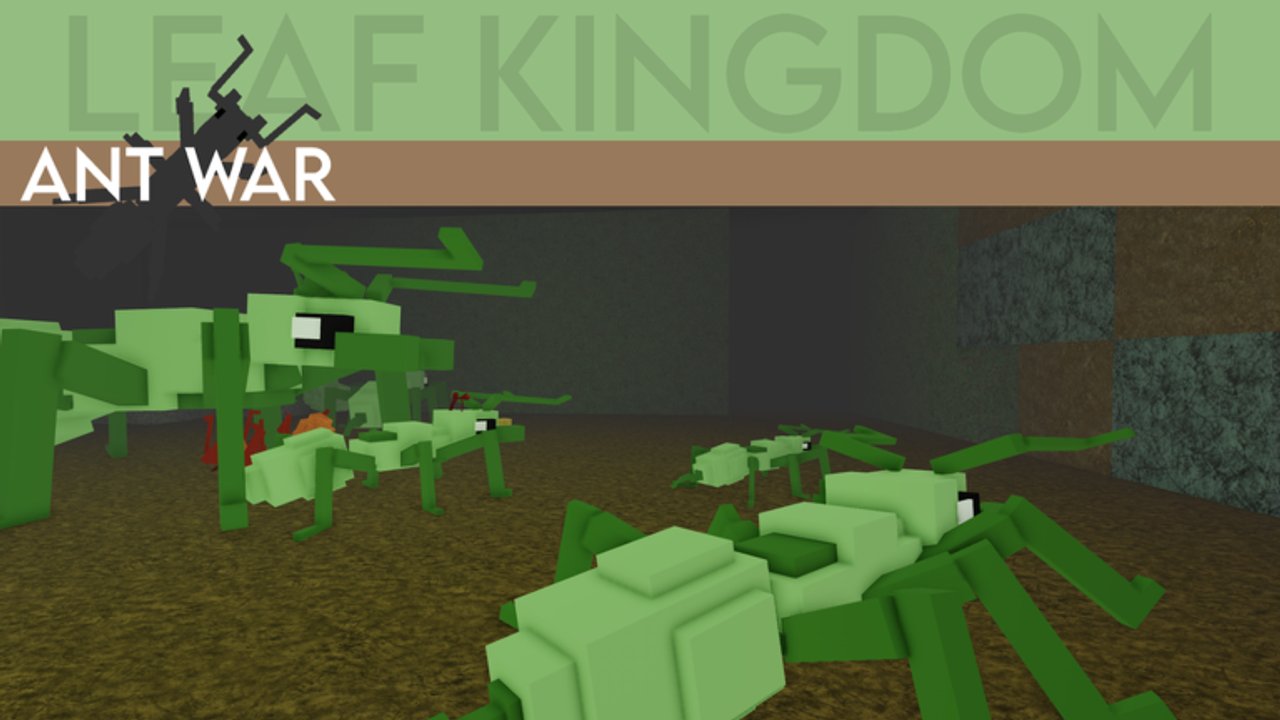
Larvae are the post-elimination economy of Ant Wars (official title Ant War, by Chylan). When an enemy queen dies, larvae spawn in the fallen nest. Players who pick them up and return them to their colony’s Loot Dropoff earn DNA, shrink team respawn timers, and progress the Looter badge. This guide covers spawn timing, carry limits, DNA math, timer benefits, team tactics (including Stinger pressure while looting), and how larvae fit into winning the rest of the server. Cross-read Queen, How to Win, DNA, Heal the Queen, and the Players hub for badge notes including Looter.
When larvae spawn
Larvae become available after an enemy queen dies. That death already ends respawns for the eliminated colony — see Queen — and turns the nest into an economic node instead of a living throne room. Do not expect a full larvae farm while the queen still lives; the loot loop is a reward for finishing the objective, not a substitute for it.
Once larvae are up:
- Rival colonies race the same corpses and tunnels.
- Survivors from the dead team may still bite, dig, or auto-switch away — treat the nest as contested ground.
- Neighbor colonies often pivot: finish looting, then rotate toward the next living queen per How to Win.
The v1.216 era added larvae looting alongside Honeypot and the Looter badge; modern pubs still run that economy on top of later Combo and cosmetic patches.
Carry rules and Loot Dropoff
- Enter the fallen nest and pick up larvae.
- You can stock about five larvae at once (max collect per player ≈ 5).
- Carry them home to your ally Loot Dropoff / larvae supply point in base.
- Deposit successfully to receive DNA and help your team’s respawn timer.
- Return for another haul if larvae remain and the next queen war can spare you.
Empty trips waste the double-DNA window late. Full stacks of five are efficient — do not sprint home with a single larva unless the nest is about to be sealed or you are about to die.
DNA payout from larvae
Each larva returned is worth about 0.5 DNA:
| Larvae deposited | Approx. DNA |
|---|---|
| 1 | 0.5 |
| 2 | 1.0 |
| 3 | 1.5 |
| 4 | 2.0 |
| 5 | 2.5 |
That stacks with passive ticks (~1 / 45s, doubled in the last 15 minutes), healing income, and damage — full earn table on DNA. A clean five-stack is a meaningful chunk toward Major (3) or a mutation, and multiple runs can bank Supermajor (6) or Combo DNA under 30:00.
Team respawn timer: 8 seconds → 2 seconds
Returning larvae does more than pad personal DNA. The more larvae your team adds to the Loot Dropoff, the faster your colony respawns. Community figures put the longest respawn around 8 seconds and the shortest around 2 seconds as the dropoff fills. Faster respawns mean diggers and feeders return to Stone walls and queen rooms sooner — a silent win condition amplifier during multi-front wars.
Prioritize deposits when:
- Your colony is trading heavily and needs bodies back fast
- You already killed a queen and can convert the nest before the next siege
- Badge hunters need Looter progress without starving Heal the Queen duty
Team tactics that actually work
Assign specialists
Do not send every Supermajor Combo on larvae while another living queen flanks your home. Typical split:
- 1–2 looters (often Mid sizes — fast enough, DNA still growing)
- Guards / Acid holding the highway so rivals cannot snatch the same pile
- Main force already rotating to the next queen objective
Stinger and steal pressure
Stinger shines when you need to burst nest guards or finish contested picks while looting. Ability burst clears a doorway so carriers escape; the same kit that kills queens also polices larvae rooms. Watch the embedded video mid-page for stinging and stealing eggs/larvae habits, then return here for the dropoff rules. Pair Stinger with Mutations notes if you are building a loot-and-dive flex.
Deny rivals
If you cannot safely carry, contest — body-block, bite carriers, or collapse soft tunnels so enemy looters take longer paths. Denying 2.5 DNA stacks and timer gains is as real as earning your own.
Signal and pathing
Ping (R) when the nest is clear enough for a five-stack run. Pre-dig a return tube toward your dropoff so laden ants are not pathing through a brawl. If your own queen is under ~3000 HP after regen has stopped, pause vanity loot and Feed — larvae do not matter if your colony loses respawns next.
Looter badge
The Looter badge is earned by looting and returning 50 larvae to your home nest. It was added with the larvae system (not day-one with every other badge). Grind tips:
- Finish queens, then run disciplined five-stacks instead of random single pickups
- Play full rounds — partial AFK sessions rarely hit 50
- Track other badges on the Players hub (Muncher, Medic, Excavator, Survivor, and caste ranks) so you are not one-trick looting while the queen dies
- Never use cheat teleport / auto-loot scripts; account risk is covered on Scripts
Looter progress is a long-term goal. Winning the current queen war still outranks padding the counter in a losing nest.
How larvae fit the match arc
| Phase | Larvae priority |
|---|---|
| Early (all queens alive) | None — dig, Feed, scout |
| Just after first queen kill | High — convert nest, bank DNA/timers |
| Mid multi-queen map | Medium — assign specialists only |
| Final 15 min DNA double | High if a nest just fell; otherwise push living queens |
| Your queen critical | Drop loot, Feed, defend |
Larvae are a snowball tool after How to Win objectives, not a replacement for them. Post-match highlights also celebrate most larvae looted — nice for caste habits, still secondary to Victory.
Common larvae mistakes
- Diving for larvae while the target queen is still alive
- Entire squad looting while a third colony cracks your nest
- Walking home with one larva repeatedly instead of stacking toward five
- Ignoring dropoff timer value when your team is already respawn-starved
- Spending all newly earned DNA on cosmetics mindset — v1.43 looks do not dig Stone; buy sizes/mutations via DNA
- Expecting promo codes to grant larvae — this game has none (Codes)
Practice path
- Play a round focused on finishing one queen, then personally depositing at least two full five-stacks.
- Next round, play designated highway guard while teammates loot — learn deny angles.
- Third round, flex Stinger: clear a contested nest, carry, deposit, rotate to the next queen.
- Cross-check queen death rules on Queen and spend the DNA you earned using DNA and Heal the Queen priorities.
Larvae turn a dead nest into fuel. Carry smart, deposit full, protect the dropoff economy, chase Looter without abandoning the living queens that still decide the server.
Frequently Asked Questions
Quick answers for Ant Wars colony fights.
When do larvae spawn in Ant Wars?
Larvae spawn after an enemy queen dies. The fallen nest becomes a loot node; living queens do not run the full larvae farm loop.
How much DNA is each larva worth?
About 0.5 DNA per larva returned to your Loot Dropoff. A full carry of five is roughly 2.5 DNA.
How many larvae can I carry at once?
About five larvae per player. Stack toward the cap before running home when the nest is safe enough.
Do larvae help team respawn speed?
Yes. More larvae on your Loot Dropoff shortens colony respawn time — roughly from about 8 seconds down toward 2 seconds as deposits add up.
How do I get the Looter badge?
Return 50 larvae to your home nest over time. Finish queens first, run efficient five-stacks, and track other goals on the Players hub.