Ant Wars DNA Economy & Spending
Earn DNA from ticks, heals, larvae, and damage — then spend it on sizes and mutations without throwing the round.
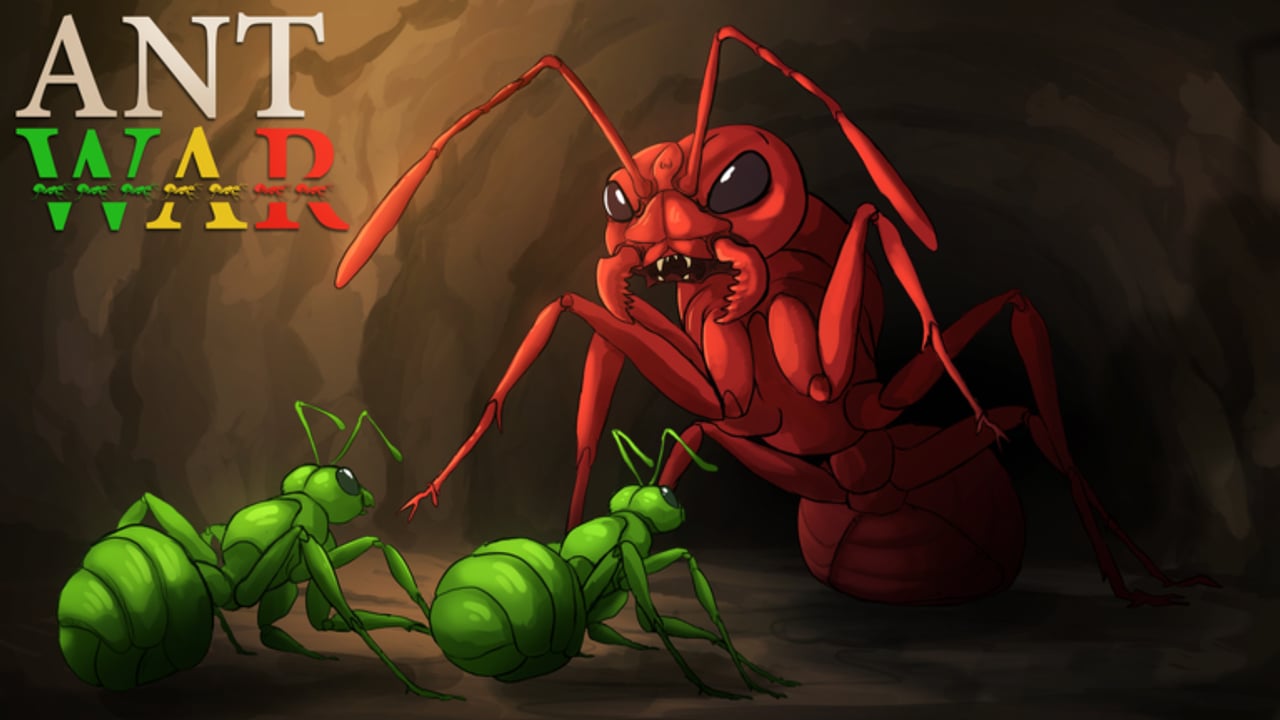
DNA is the match currency of Ant Wars (official title Ant War, by Chylan). Every size upgrade, mutation pick, and late Combo Mutation is paid from the same pool. If you waste DNA on ego Supermajors, die with an expensive loadout, or ignore the double-tick window, your colony digs slower and finishes queens later. This guide covers how DNA is earned, how to spend it on Minor / Major / Supermajor and mutations, when to bank for Combos under 30:00, and why death is so punishing after a big buy. Pair it with Getting Started, Mutations, Larvae Loot, Ant Sizes, the Mutations Tier List, and How to Win.
How DNA is earned
Passive ticks (~1 every 45 seconds)
While you are alive in the match, DNA ticks in passively about once every 45 seconds. You do not need a special item or code — there are still no active promo codes for this game. AFK in a corner and you still gain, but you leave active sources on the table and your team loses a digger or feeder.
Double passive in the last 15 minutes
In the final 15 minutes, passive DNA doubles. That spike funds Supermajors and Combos for the queen race. Plan spends so you are not sitting on 5 unused DNA when the double window opens, and not bankrupt the moment you need a second mutation. See timing notes on How to Win.
Healing (queen and allies)
Feeding fungus to injured ants or the queen grants DNA. Honeypot players who stay on the Heal the Queen loop often bank size upgrades without needing a highlight-reel kill montage. Healing is safe income: you stay near nest fungus, protect the win condition, and still grow.
Larvae returns
Successfully carrying larvae to your Loot Dropoff after an enemy queen dies grants DNA (about 0.5 DNA per larva, up to a personal carry of ~5). Full routes, timers, and the Looter badge live on Larvae Loot. Treat larvae as a mid/late economy spike, not a reason to abandon a living enemy queen.
Dealing damage
Biting workers, ability hits (Stinger / Acid), and pressure on queens also feed DNA. Damage income rewards aggressive diggers and queen hunters, but dying mid-dive can erase the tempo you just bought — more on death risk below.
| Source | When it shines | Risk |
|---|---|---|
| Passive ~1/45s | Always; doubles last 15 min | Low — just stay in match |
| Healing | Nest defense, post-30:00 regen off | Low if fungus path is safe |
| Larvae | After a queen falls | Medium — contested nests |
| Damage | Breaches and duels | High — death resets your body |
How to spend DNA
Sizes: Minor 0 / Major 3 / Supermajor 6
- Minor — 0 DNA: default free worker. Dig soft Dirt, learn lanes, feed early. Stay Minor while you learn Controls habits.
- Major — 3 DNA: the first real breakpoint. Dig counts drop on Compact sand, Wood, and Stone; melee and HP feel respectable. Most players should buy Major before greed-saving for a naked Supermajor — details on Ant Sizes.
- Supermajor — 6 DNA: late frontline and Stone specialist. Expensive. Buy when walls or queen rooms demand it, not because chat called you small.
- Minim: gamepass small caste — not a DNA spend.
Mutations on top of size
After size, spend more DNA on a class: Trapjaw, Stinger, Acid, Armored, or Honeypot. Mutation DNA is separate from the 0 / 3 / 6 size table. Role picks and Combo ideas are on Mutations and ranked on the Mutations Tier List. Practical order for most pubs:
- Stay Minor, open Dirt/Soil, learn fungus.
- Buy Major (3) when digs stall.
- Take the mutation that fills a team gap (feeder vs damage vs tank).
- Bank toward Supermajor (6) for Stone and throne rooms.
- Under 30:00, convert leftover DNA into Combo Mutations if the queen war needs it.
Banking for Combo Mutations (under 30:00)
When the timer falls below 30:00, Combo Mutations unlock — one ant can hold two mutation effects. That same window is when queen passive regen (3 HP/s) stops, so colonies need both damage Combos and heal capacity. Do not empty your wallet on a flashy dual kit while the queen sits unfed. Ideal banks look like: enough DNA for Supermajor (if not bought) plus a second mutation, with a teammate still on Honeypot duty. Coordinate so two Combos do not arrive thirty seconds apart and die separately — see How to Win.
Death risk on expensive loadouts
DNA spent is match investment. Dying after you have stacked Supermajor + mutation (or a late Combo) is one of the costliest mistakes in Ant Wars. On respawn you are weak again until you rebuy size and class, while the clock — and the enemy queen race — keeps moving. Expensive loadouts should play with:
- Escort digs: Armored lead or trench cover before you commit the big body into an unknown nest.
- Signal discipline: ping (R) before solo diving a throne room.
- Fungus backup: a Honeypot on the siege ramp so one trade does not delete your DNA snowball.
- Larvae caution: do not send your only Supermajor Combo on a contested larvae run while another living queen flanks home — assign mid sizes for Larvae Loot when possible.
Cheap deaths on Minors are learning. Cheap deaths on 6+ DNA kits are thrown tempo. If you are the colony’s only Stone digger, treat your body like the lane itself.
Efficiency habits that win more rounds
- Track the clock: regen cutoff and Combos at 30:00; DNA double in the last 15 minutes.
- Fill missing roles: fourth Trapjaw with zero feeders is a DNA waste — read Mutations.
- Heal for income: medic DNA is real; use Heal the Queen loops when the nest is scratched.
- Loot after kills: convert fallen nests into larvae DNA without abandoning the next queen objective.
- Ignore fake codes: DNA is earned in-match; cosmetics from v1.43 do not refund bad spends.
Solo-queue DNA defaults
If chat is silent, default spends that rarely brick a pub: Major first, then Armored or Honeypot until you see whether the lane needs damage. Switch into Trapjaw, Stinger, or Acid once a dig path exists. Never dump your last DNA on a vanity mutation while Stone still blocks the queen room — dig access is the real multiplier on Digging and Blocks.
Beginner DNA path (first full match)
Match open: dig and Feed as Minor — follow Getting Started. First 3 DNA: Major. First mutation: Honeypot if the queen is already hurt, otherwise Trapjaw or Armored based on tunnel noise. Mid-game: keep healing and fighting for ticks; grab larvae only after a queen falls. Late: Supermajor if Stone blocks the breach; bank extras for Combos under 30:00. Finish with the checklist on How to Win and size timing on Ant Sizes.
Watch the embedded video mid-page for a visual of major mutation DNA efficiency, then return here for the earn/spend rules that highlight reels skip. DNA does not win Ant Wars alone — queen kills do — but every dig, Feed, and Combo is paid from this meter. Earn deliberately, spend on purpose, and stop dying with the colony’s bankroll on your mandibles.
Frequently Asked Questions
Quick answers for Ant Wars colony fights.
How fast does passive DNA tick in Ant Wars?
About 1 DNA every 45 seconds while you are in the match. Passive gain doubles during the last 15 minutes.
What actions give DNA besides the passive tick?
Healing allies or the queen, returning larvae to your Loot Dropoff, and dealing damage to enemies or queens all grant DNA.
How much DNA do Major and Supermajor cost?
Major costs 3 DNA and Supermajor costs 6 DNA. Minor is free at 0 DNA. Mutations cost additional DNA on top of size.
When should I bank DNA for Combo Mutations?
Combo Mutations unlock when the timer is under 30:00. Save enough for a second mutation (and Supermajor if needed) without starving queen Feeds.
Why is dying after a big DNA spend so bad?
Expensive Supermajor and mutation loadouts take time and DNA to rebuild after death. You lose tempo while the queen race and the clock keep moving.