Ant Wars Combo Mutations Tier List
Dual kits that unlock when the timer drops under 30:00 — and how to bank DNA for them.
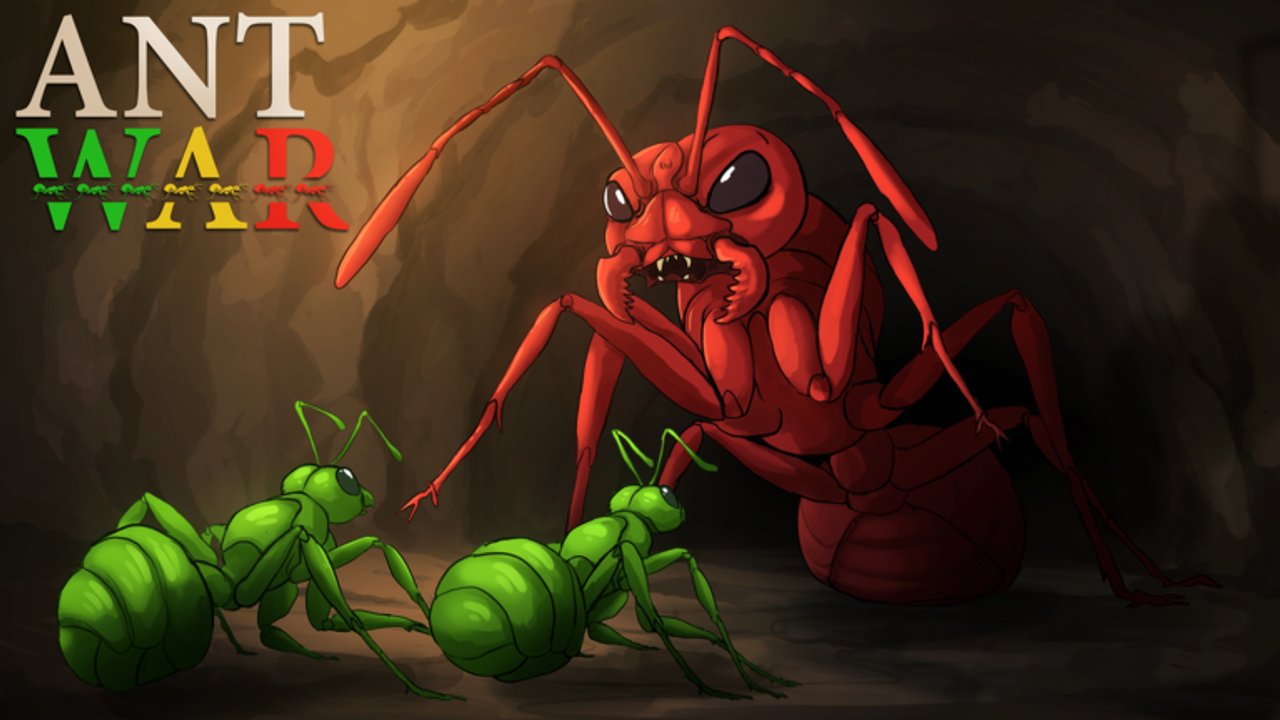
Combo Mutations in Ant War
Combo Mutations are the late-round power spike that reshaped Ant War (Ant Wars) after v1.3. When the match timer falls under 30:00, you can spawn or upgrade into an ant that holds two mutations at once. That same clock mark is when queen passive regen (about 3 HP/s) stops, so the endgame is no longer “biggest Supermajor wins” — it is “best dual kit, escorted to the queen, with fungus still flowing.” This page ranks dual kits, explains DNA banking, and links the systems you need before the window opens.
Read single-class fundamentals on Mutation Classes and Mutations and the role ladder on Mutations Tier List. Size costs and upgrade timing live on Ant Sizes. Closing the round is covered in How to Win.
Unlock rule: timer under 30:00
Combo Mutations are not available from spawn. You must wait until the round clock shows less than thirty minutes remaining. Practical habits:
- Glance at the timer every few dig cycles once you are past mid-game.
- Do not dump every DNA point into a naked Supermajor at 35:00 if you can bank for a dual kit at 29:00.
- Tell teammates when the window is about to open so healers and diggers sync the breach.
- Remember the twin rule: under 30:00, queen regen also stops — your nest needs Feed (T) discipline or the dual kit never leaves home.
Chylan’s announcement framed Combo Mutations as a spawn option with two mutations once the timer is low enough. Treat the shop UI as truth after patches and cross-check notes on the Updates hub.
Bank DNA before the window
DNA is the only currency that buys sizes and mutations. There are no promo codes that refund a bad spend. Earn DNA from:
- Passive ticks (about every 45 seconds, faster near the end of the match)
- Healing allies and the queen
- Returning larvae after a colony falls (v1.216 loot loop)
- Combat pressure that keeps you alive and useful
Banking plan that works in pubs:
- Open as Minor (0 DNA) with a useful single mutation — often Honeypot or Armored while tunnels form, or Trapjaw / Stinger if your lane is already hot.
- Buy Major (3 DNA) only when dig walls or fights demand it; skip Major if you are already close to Supermajor (6 DNA) and lanes are ready.
- Keep a mental reserve for the second mutation once 30:00 hits. A Supermajor with one mutation is strong; a Supermajor with two mutations is the real late payload.
- If your queen is melting, spend on Honeypot Feed capacity first. A dead nest makes every combo worthless.
Size details and Minim gamepass notes: Ant Sizes. Class roles without dual kits: Mutation Classes.
Dual kit tier snapshot
| Combo | Role | Why it works |
|---|---|---|
| Armored + Trapjaw | Bruiser | Melee 1.5× bite with extra HP — pub late-game default |
| Armored + Stinger | Dive tank | Burst queen damage that survives the walk-in |
| Armored + Acid | Artillery tank | Holds trenches and chips queens without folding |
| Armored + Honeypot | Anchor medic | Nest wall that still Feeds efficiently |
| Trapjaw + Acid | Hybrid pressure | Bite finishers plus ranged openers |
| Trapjaw + Honeypot | Sticky DPS | Self-sustain mid fights while still deleting workers |
| Stinger + Honeypot | Assassin-support | Dive, burst, then top the line |
| Stinger + Acid | Ambush burst | Community favorite for fast Supermajor deletes |
| Acid + Honeypot | Defensive poke | Nest turret with heal economy |
| Trapjaw + Stinger | Pure offense | Wins mirrors if someone else heals |
S-tier dual kits
Armored + Trapjaw is the safest Supermajor dual for most pubs. Trapjaw multiplies bite; Armored keeps you alive through the crowded tunnel. Escort diggers, take the breach, and delete the queen before regen-less defense collapses.
Armored + Stinger is the dedicated queen hunter. Stinger ability damage scales hard on Major and Supermajor frames; Armored buys the seconds you need after the dive. Call the push so Honeypots are not left alone at home.
Armored + Acid owns sightlines. Acid chips queens and peeling ants from safety; Armored stops a single Trapjaw from deleting you when someone flanks the trench.
A-tier dual kits
Trapjaw + Honeypot and Stinger + Honeypot keep pressure while contributing Feed DNA. Use them when your colony already has a frontline sponge but lacks sustain.
Trapjaw + Acid and Stinger + Acid are greedier offense stacks. They shine when fungus routes are covered and you need raw delete speed on the final nest.
Armored + Honeypot is the “do not lose” nest pair. Take it when three colonies are collapsing on your queen and regen is already gone.
Situational notes
Doubling pure support with no damage partner fails if your colony lacks killers. Doubling pure damage with no healer fails when the timer is under 30:00 and the queen cannot regen. Balance the roster across Fire Nation, Golden Empire, Leaf Kingdom, and Concrete Clan the same way — colonies share tools; only spawn geography differs.
Optional Minim (gamepass) can still take dual mutations, but a fragile fast body is a specialty harasser, not a Supermajor substitute. See Ant Sizes.
Queen regen cutoff and Feed discipline
Under 30:00, queen passive regen stops. That means:
- Feed (T) becomes mandatory, not optional topping.
- Honeypot efficiency matters more than ever.
- Offense dual kits must leave at least one medic path open, or coordinate with dedicated Honeypots.
- Digging fungus behind the queen remains part of the win condition — see How to Win.
A common loss pattern is buying Armored + Trapjaw, diving alone, and returning to a queen that died because nobody Fed after regen cut off. Combo Mutations multiply a plan; they do not replace nest care.
Match-phase checklist
Before 30:00
- Dig lanes and fungus routes.
- Secure one strong single mutation.
- Evaluate whether Major is needed now or Supermajor should be banked.
- Watch rival Supermajors so you know which dual kit counters them.
At the unlock
- Spend into the dual kit that fills a team gap, not the flashiest pair on a social clip.
- Signal the breach so diggers, fighters, and healers arrive together.
- Prefer Supermajor carriers when tunnels already reach the enemy nest.
Closing the match
- Focus the queen once guards fall.
- Peel only if your own queen is critical.
- Loot larvae after a nest falls to fund respawns and badges — still no codes shortcut.
Skip unauthorized scripts; auras and auto-buy macros teach nothing about these breakpoints and risk the account.
Related reading
- Tier List hub — map of rankings
- Mutation Classes — single-mutation jobs and DNA order
- Mutations Tier List — S/A/B single-class ladder
- Ant Sizes — Minor / Major / Supermajor / Minim costs
- How to Win — objective focus after the clock breaks
- Updates — v1.3 combo context and later cosmetic notes
Master the thirty-minute line and every other Ant Wars system on this wiki becomes easier to execute under pressure.
Bank DNA deliberately before the Combo window — full earn/spend rules live on the DNA guide.
Frequently Asked Questions
Quick answers for Ant Wars colony fights.
When do Combo Mutations unlock in Ant Wars?
When the round timer falls under 30:00 (v1.3). You can then field an ant with two mutations at once. Queen passive regen also stops in that same window.
What is the best Combo Mutation pair?
Armored + Trapjaw is the safest pub bruiser. Armored + Stinger is the best dedicated queen dive. Pick based on whether your colony needs bulk, burst, poke, or healing.
Should I bank DNA instead of buying Major early?
Often yes if tunnels are unfinished and you are close to a late Supermajor dual kit. Buy Major sooner if fights or dig walls demand power now.
Does queen regen stop when combos unlock?
Yes. Under 30:00, queen passive regen (about 3 HP/s) stops. Dual kits must be paired with Feed discipline or the nest collapses while you dive.
Can Minim use Combo Mutations?
Yes if you own the Minim gamepass, but the fragile fast body is a specialty pick. Most late payloads still want Major or Supermajor carriers.